For an image already in Figma
Figma has its own Remove background feature. Select the image and choose Remove background from the secondary toolbar in Figma Design. Access depends on your plan and permissions; the linked Figma guide lists the current requirements.
If that workflow is available and gives you the result you need, continue in the same file. You do not need to move an image out of Figma just to bring it back. Review the result against your frame’s fill before spending time on the layout.
For a reference still open in Chrome
ClickCutout is useful while choosing among web images you can reuse. Set up the Chrome extension with image access and Google sign-in, then select PNG output. The extension processes the image you select and gives you a file or clipboard image; it does not create a Figma component or a live link to the product page.
- Open the useful full-size product image on its source page.
- Right-click it, open ClickCutout and choose Copy.
- Select the intended area in your editable Figma file and paste. If the browser or destination does not accept the clipboard image, download the PNG instead.
- Insert the downloaded file using Figma’s image import controls or drag it onto the canvas.
Compare two product images in the same hero
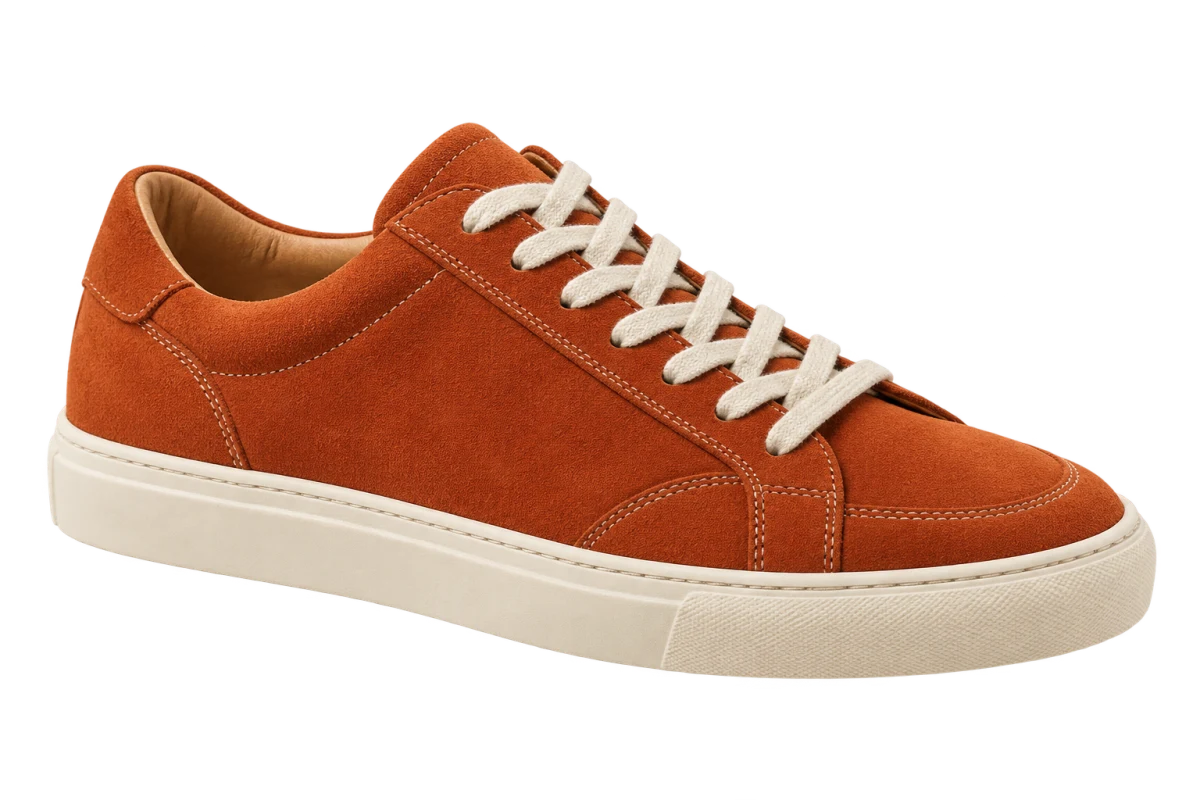
Suppose you are designing the top section of a shoe shop. Set the headline, button and background first, then place a shoe cutout beside the text. Duplicate the frame and replace the shoe with an alternate angle. Keeping the copy and spacing fixed makes the image choice easier to judge.
Look at where the toe points, how much visual space the shoe occupies and whether the silhouette crowds the button. Match visible subject size across alternatives. Identical image widths can be misleading when one file has wider transparent margins. Keep the proportions locked while resizing.
Test the narrow layout and the background color
Place the chosen cutout into the mobile version of the design too. You may need a different position or a separate source angle if the subject becomes tiny or forces the text too far down. Background removal cannot recover a heel or sleeve cropped out of the original photograph.
Inspect the edges on both a light and a dark fill. If a white rectangle appears, check whether it belongs to the image, an extra shape or the frame behind it. Reinsert the downloaded transparent PNG when a paste operation has flattened the image. A pale fringe attached to the subject requires edge cleanup or a better source.
Keep the source with the approved design
Name the image layer and keep the original page link with your design notes. That helps the next person confirm the product version and replace the reference with an approved asset if needed. Save a transparent master for future layout changes.
ClickCutout preserves the dimensions of the image it receives. It does not turn a small thumbnail into a sharp hero image. For the website release, prepare the final asset dimensions and file format as part of the normal web build, then check the result in the actual page.